How I wrote a Telegram bot for Bitbucket using Heroku and Python
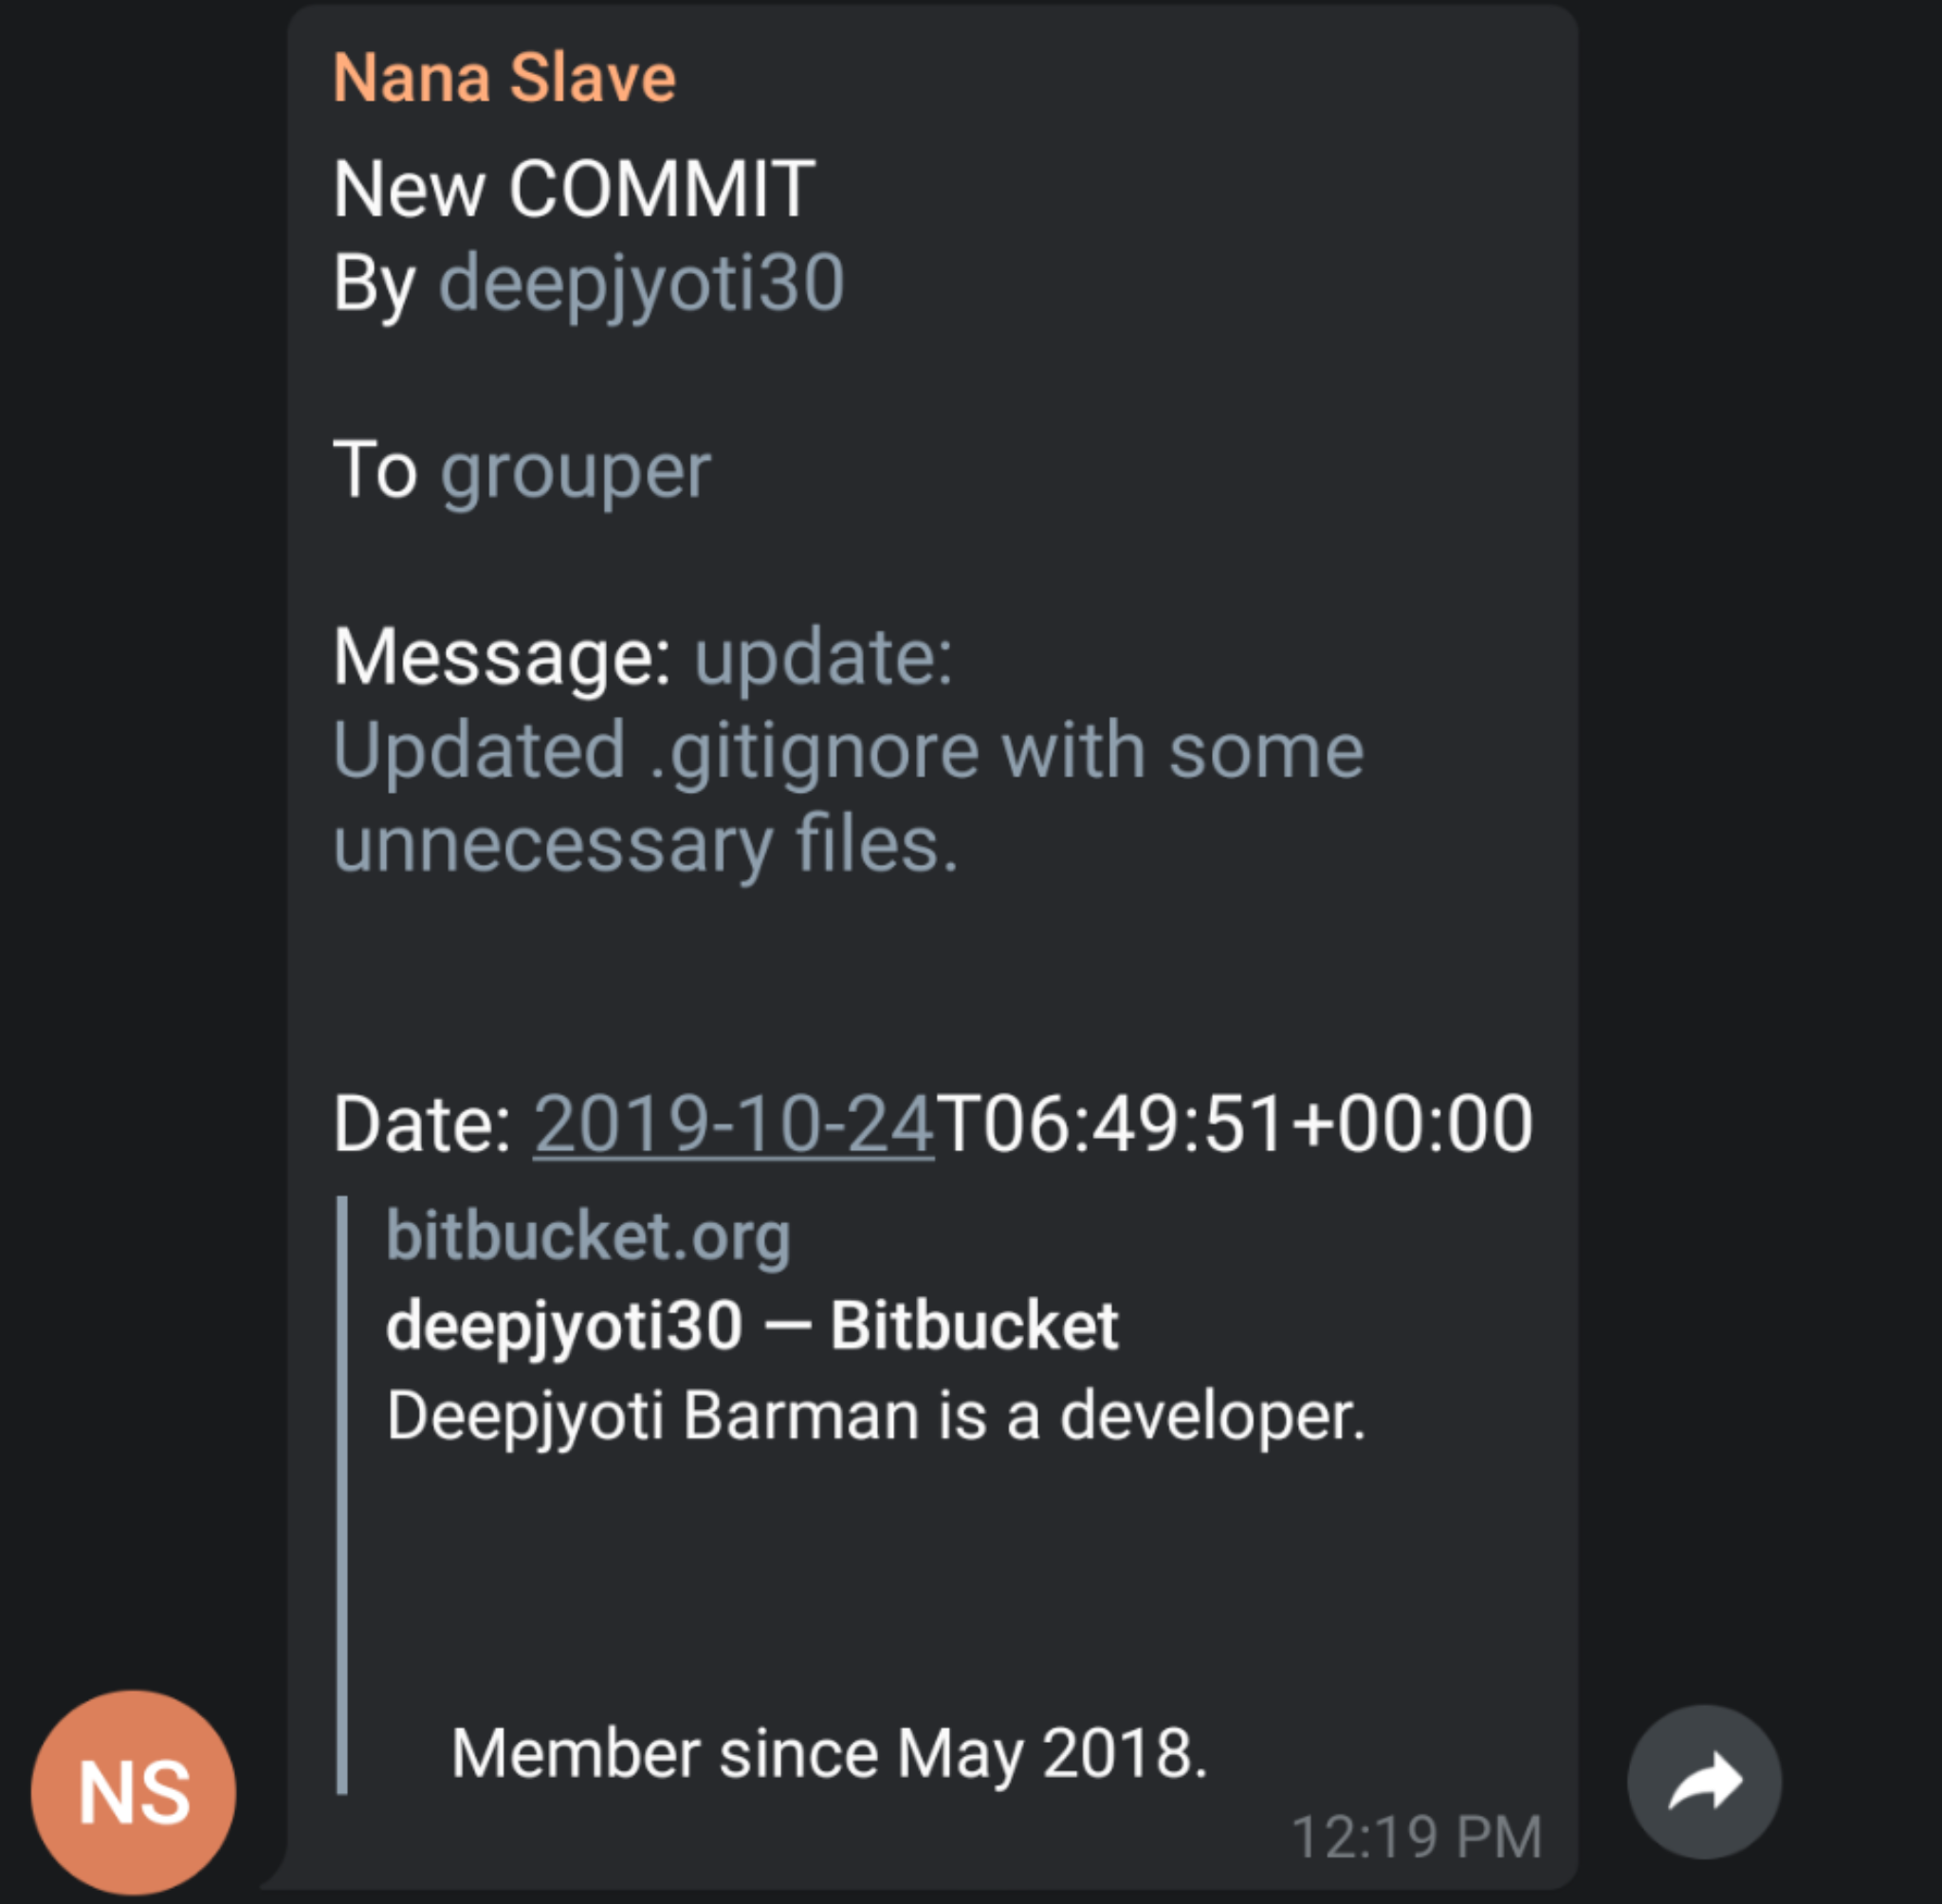
A telegram bot that automatically sends messages when a new commit is made to a repository on Bitbucket

So recently I started working on a group project with some of my friends. We did not want to make it opensource but I wanted to make sure we use a version controlling system but GitHub didn't allow having private organization repos without a cost, so we ended up with BitBucket.
To be honest, BitBucket provides all the features that we get from GitHub except that we don't get a contribution graph. Anyway, so we made a Telegram group to talk about the project whenever necessary and it turned out that after either one of us made a new push, we had to go text in the telegram app to make sure the others knew about it. So, I thought, why not have a bot instead which would send a message whenever someone pushes a new commit (anyway Telegram is pretty famous for their bot API's).
So I started reading posts on how to do that. So I read this article. After reading it, I was ready to build my own bot. So what I thought was I can use BitBuckets API.
So we need to set up some things before we go on with writing our app.
My first attempt at the bot didn't work and it was, TBH wasn't the right way to do it. The second attempt is the proper way to do it.
I wrote a python app that would be on an infinite loop and keep checking the current commits, in case a new commit arrives, it will use Telegram's API to send a message. This way was pretty resource hungry and Heroku always used to shut my app because it didn't get any requests at all. It obviously didn't work and so I had to find another way to make my bot work.
Let's write our python app first. We will be using the token of the bot to send the message.
Replace the bot token with the token that you got earlier. We will be using this function to send the message. Next, we need to write the code for our server that is going to listen to when a POST request is sent by Bitbucket.
Before we do that, we need to write a function to build a message from the data that we have just got.
After we are done writing this functions, the next thing we do is write our flask app. We need to make sure that it is listening for a POST request and when we get one, we will extract the data, build a message about it and then send it.
Replace the chat_id with the ID of the bot.
And our app is done. We can now push the app to our heroku app. We need to make a new app on heroku and then push it, directly from the commandline using git.
Now we need to enable the webhook. This webhooks act according to the trigger events that we select while setting up the hooks. Read this article.
So we will enable them for push events. Everytime someone makes a push request to the repo, we will get a POST request to our heroku app. We can enable the webhook by making a POST request to their API. Replace the url with the name of the app. For eg: yourapp.heroku.com/webhook
That is it. We wrote a simple bot for BitBucket. Sit back and make a push to the repo that you enabled the webhook in. You will get a message on your Telegram.
Subscribe to get the latest posts. I mostly write about Backend (Python/MongoDB/Postgres), Frontend (Vue/Tailwind/SCSS) and Linux.


Discussion